There are no rules that can clearly define whether or not you will like chocolate. It’s just a matter of taste, and we all know the old saying that feelings should not be discussed.
Test your chocolate like a professional in just six steps
Just so that you can gain insight into what makes one chocolate more quality than others, today we will cover the topic of tasting it. Can you imagine those lucky ones whose daily job is eating chocolate? Learning from them requires mastering a few to enjoy the flavors of chocolate as much as possible. As with tasting any other product, it is essential not to limit your senses and be prepared for some combinations that would never occur to you. Dare to try different combinations because you can never know what’s around the corner. That is why we are addressing this topic today.
In just six steps to what is best to enjoy your favorite chocolate. Ready?
STEP NUMBER 1 – APPEARANCE
Before tasting chocolate, it is necessary to first determine its color and glow Depending on whether it is milk, white or dark chocolate, it should have a bright tone and high gloss that is best observed with dark chocolate.
What does white or gray trace on chocolate mean?
If you notice gray or white traces on chocolate, then it means that fats or sugars have migrated to the chocolate surface and left their mark. This phenomenon occurs as a result of changes in temperature or humidity during the production or storage of chocolates.
Why does chocolate have holes?
If the chocolate has holes, it means that it has trapped air during the molding. Visually it isn’t adorable, but, especially with handmade chocolates, it happens.
STEP NUMBER 2 – BREAK
Well-made chocolate should have a bright and clean break. That famous “crunch” as we break the pieces of our favorite chocolate tells us that the chocolate is made correctly.
STEP NUMBER 3 – SMELL
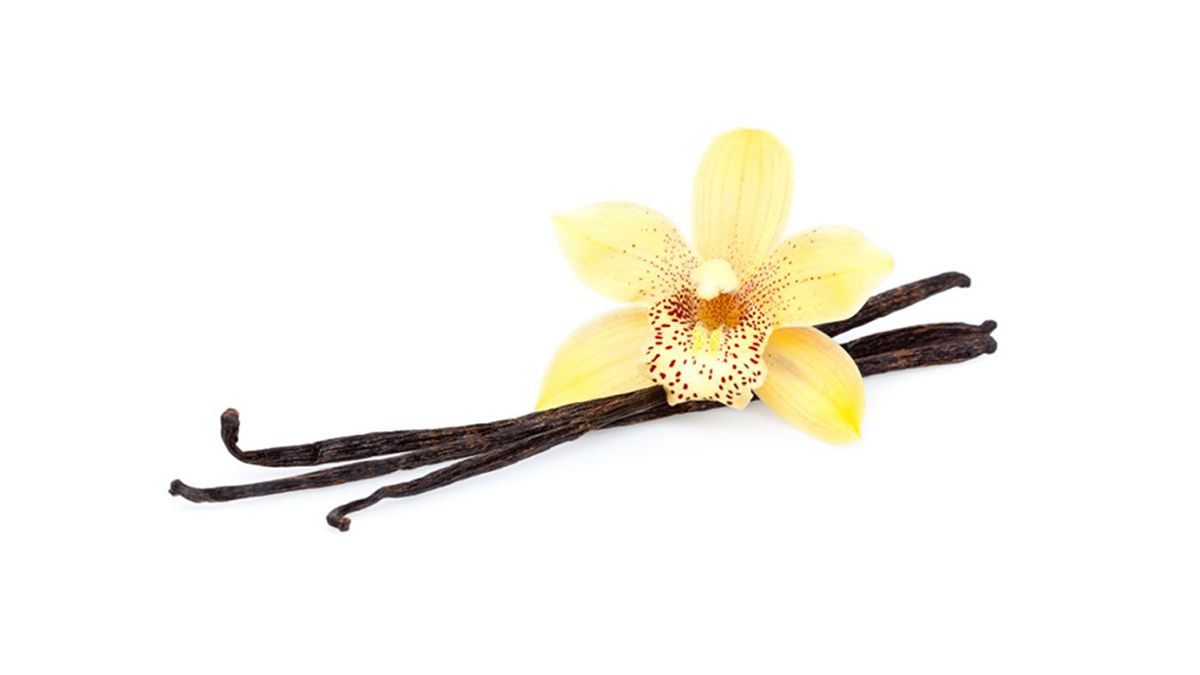
We break off a piece of chocolate and start to smell it. We need to identify the smell. Typical milk and white chocolate scents are vanilla and, of course, milky. The smell of black chocolate is more like cocoa, which is what we think of as chocolate. However, there is also an unpleasant smell with chocolate. Unfermented cocoa beans, for example, smell unpleasant and often resemble the smell of burning gum. Also, if the cocoa was stored where there was high humidity, it would develop an unpleasant odor such as grass or hay. Cocoa beans baked directly on fire will retain that typical smoky smell of chocolate.
STEP NUMBER 4 – TEXTURE
After the scent, chocolate should be tasted. Before defining the exact taste, it is necessary to determine the texture of the chocolate. When analyzing compositions, you need to answer the following questions:
How does chocolate melt in your mouth? Is it melting fast or slow? Is the chocolate smooth or “floury” inconsistent?
STEP NUMBER 5 – TASTE
The following is the most beautiful part, enjoying the chocolate vinegar. Here you should pay attention to the stages, start, middle, and end. There are four primary flavors (some say five, including so-called “umami,” but this does not apply to chocolate):
1. Cute: On top of your tongue
2. Acid: along the fronts of your tongue
3. Salty: along the back of your tongue
4. Bitter: On the back of your tongue
The most common terms used to describe flavors are:
– Fruits (citrus or berries),
– Dried fruits (dried grapes, dried plums, dried red fruits …),
– Floral or spicy,
– Ground or mushroom flavor,
– Caramel or caramelized sugar,
– Dairy (sweet, sour cream or cheese),
– Nuts (doctor, almond, macadamia nut …), etc.
STEP NUMBER 6 – CONCLUSION
Our advice is to practice these 6 steps daily. In the end, though, from all these “sweet torments,” you should find exactly the combination you like best. Only one? Of course not!
Like a cherry on the top of the cake, comes the story of pairing chocolate and wine. Read more about it here.


